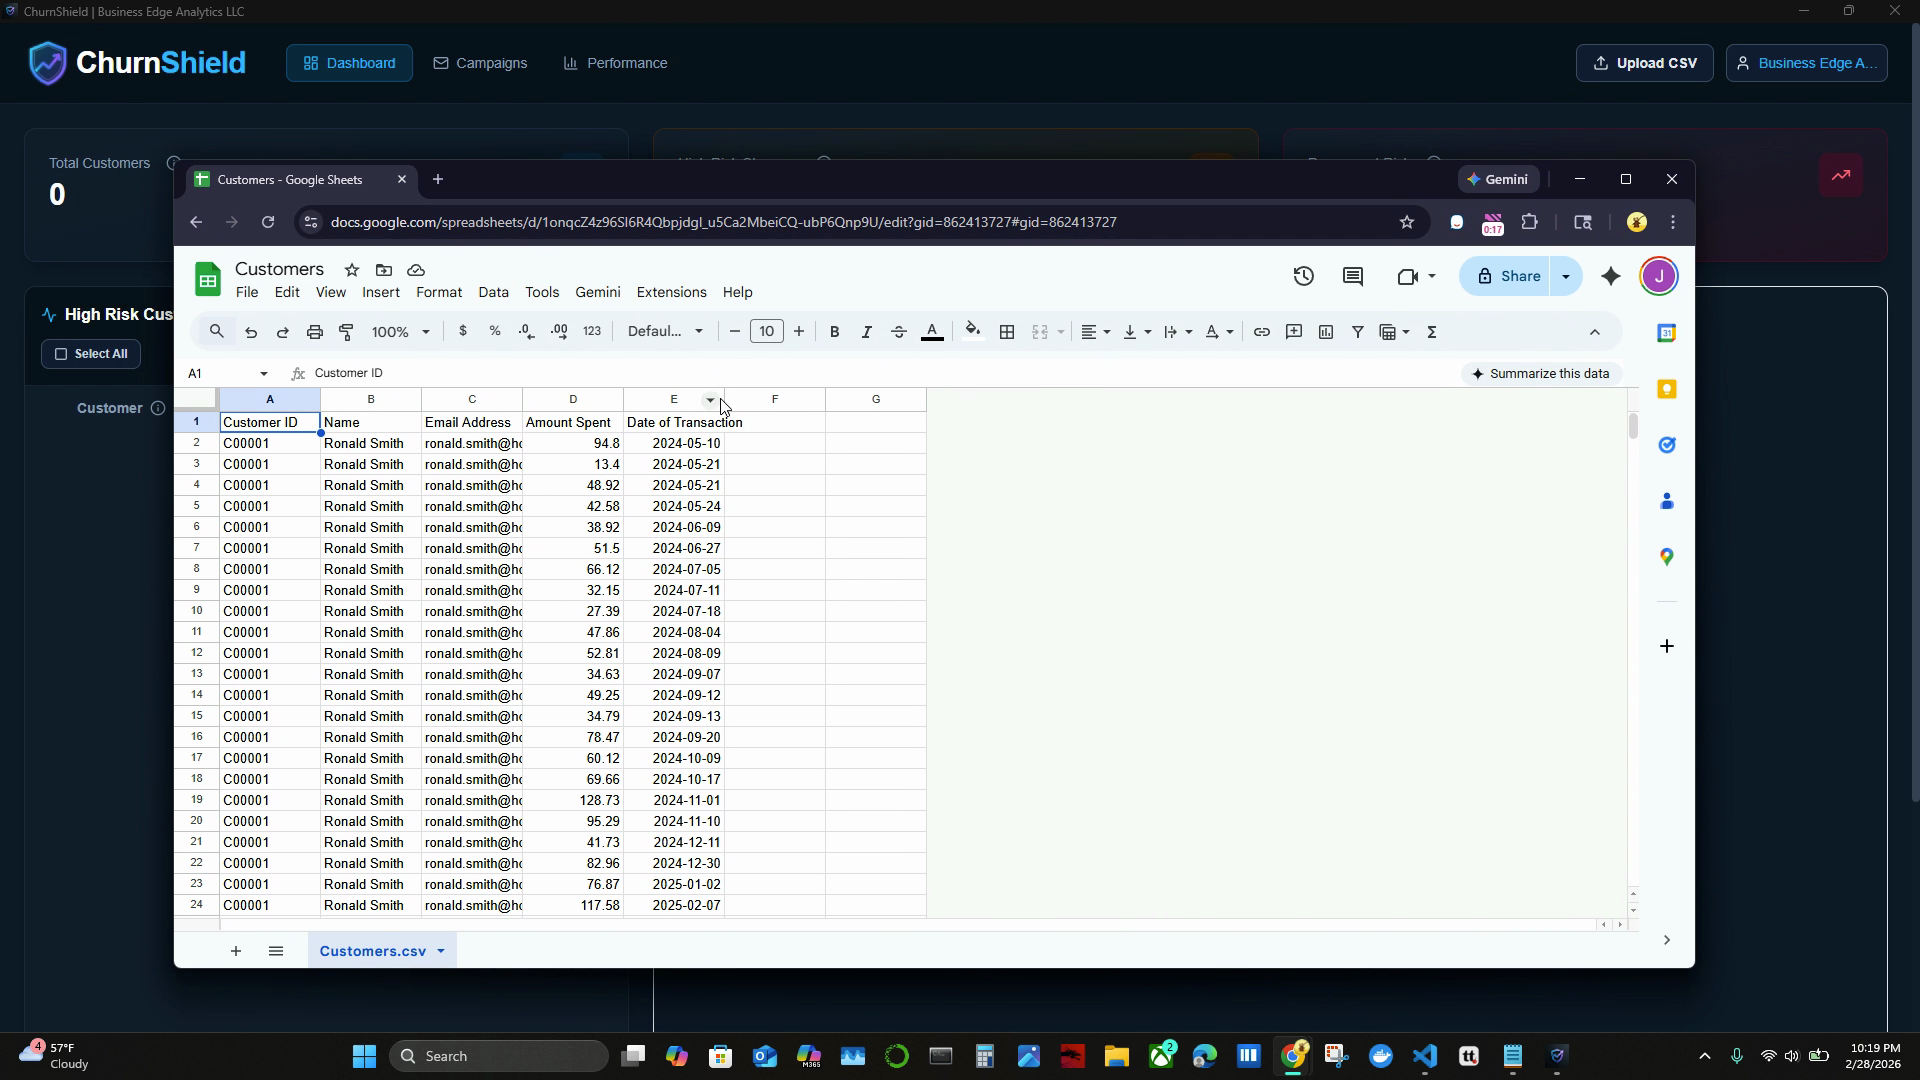
Step 1: Prepare Your Customer Data CSV
Make sure your CSV file contains:
- A unique customer ID
- Customer name
- Email address
- Amount spent
- Date of transaction for each customer
Each transaction should be a separate row. Your file may also include a cost of goods sold column, but it's optional.
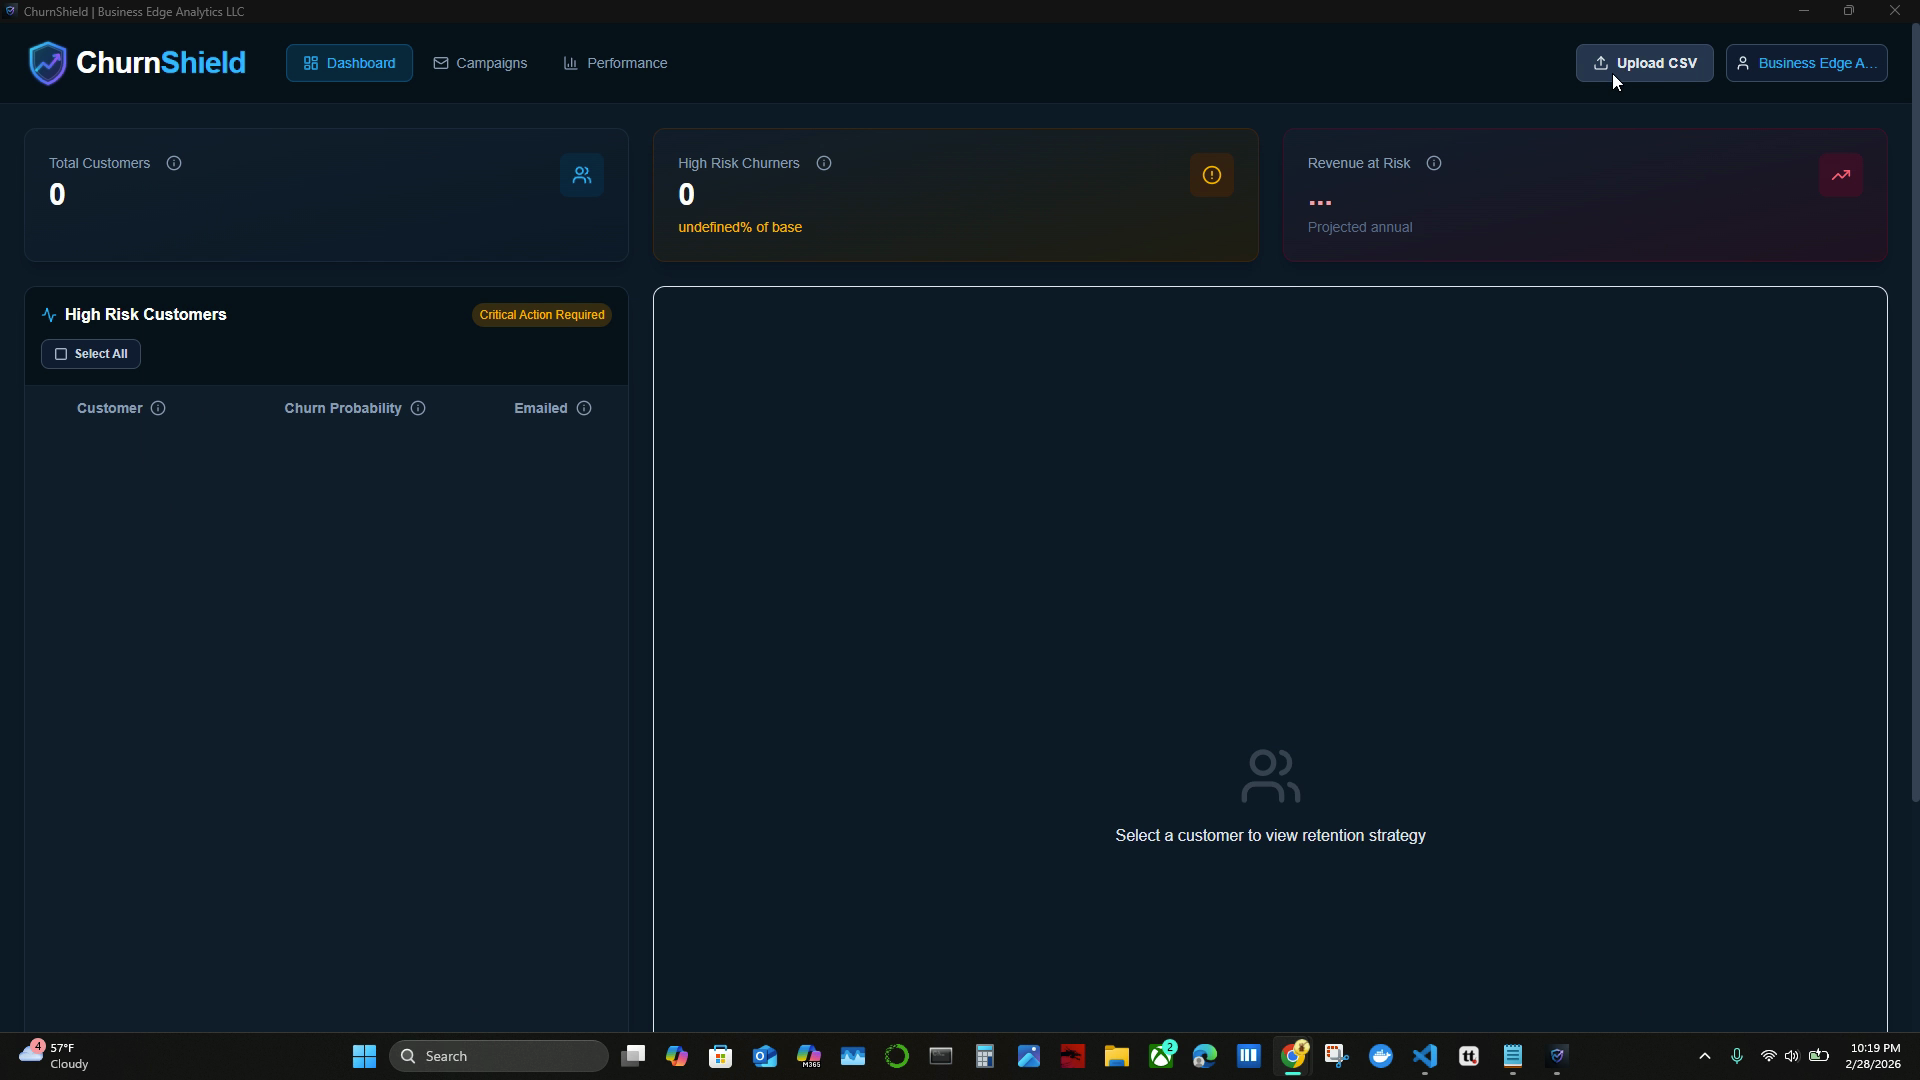
Step 2: Upload Your CSV to Churn Shield
Click Upload CSV in the dashboard. This will open the data upload and mapping screen.
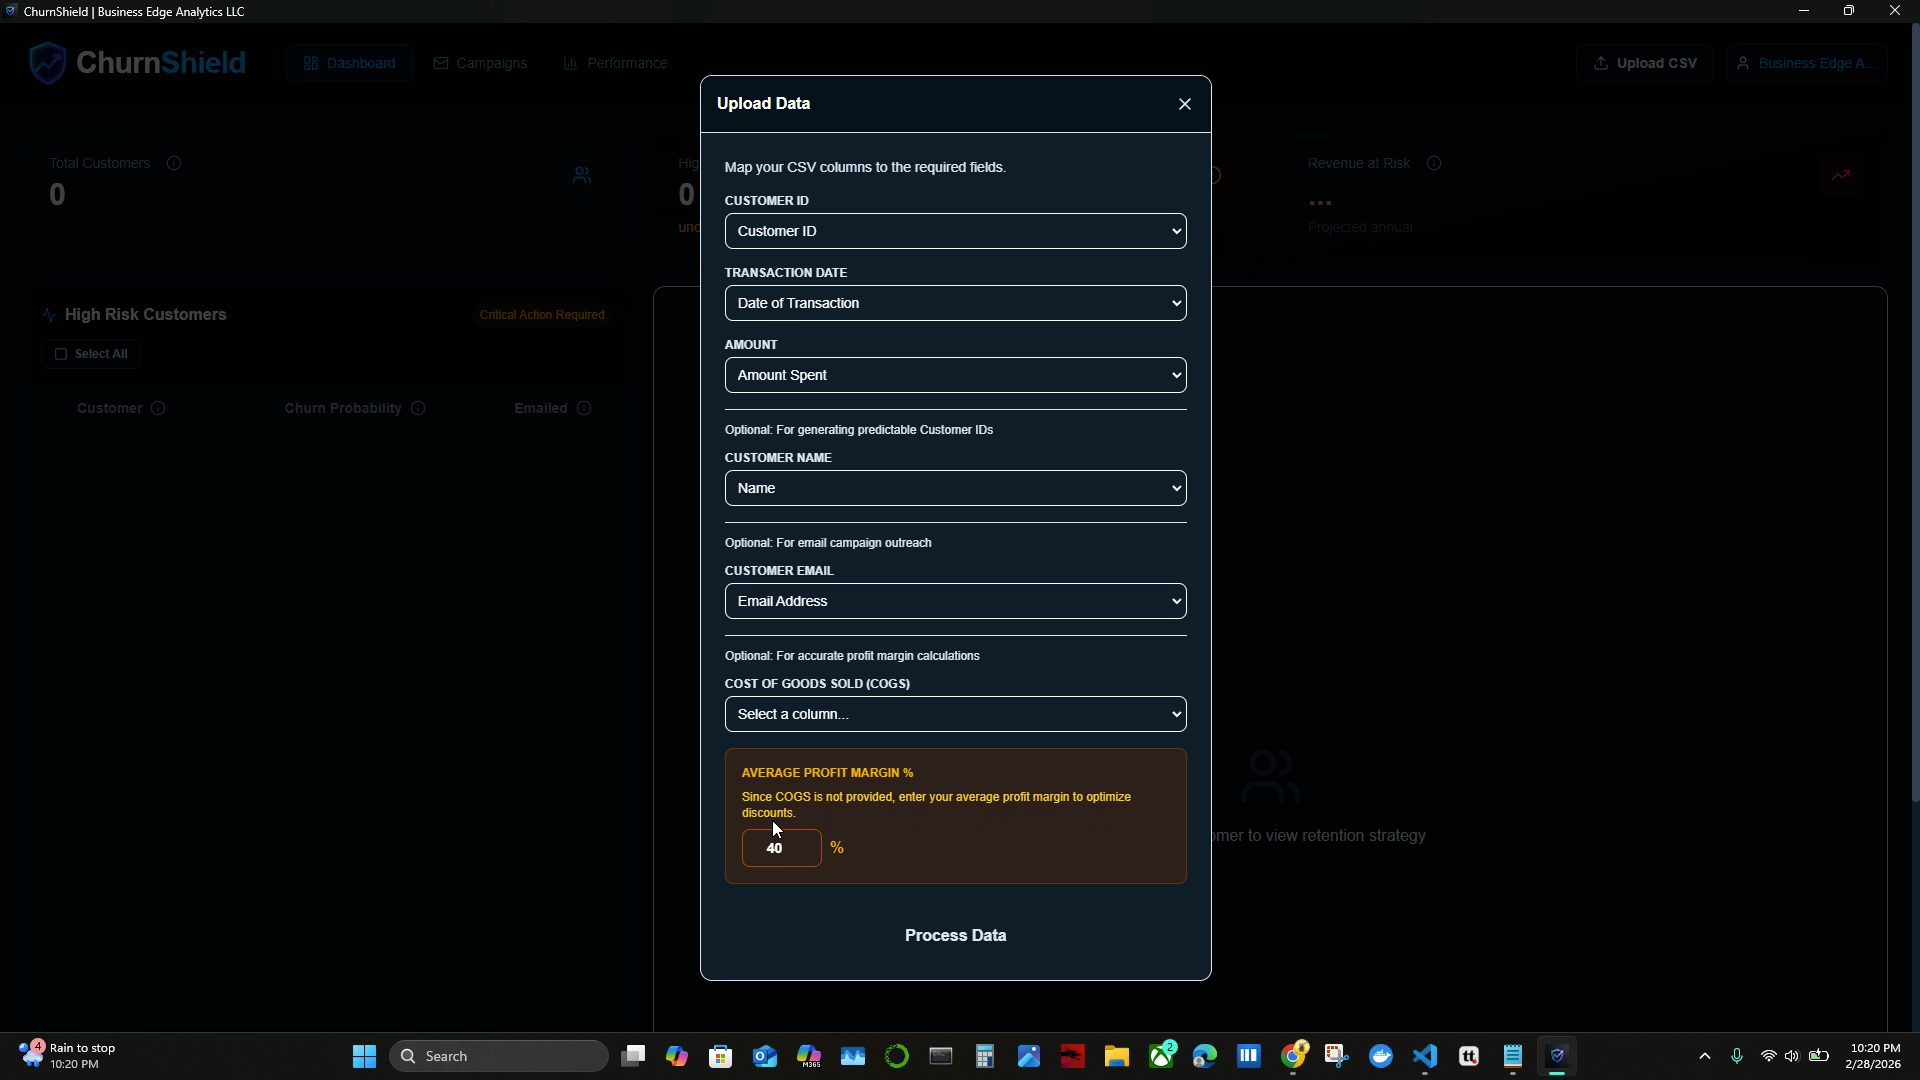
Step 3: Map Your Columns to Churn Shield Fields
Churn Shield will try to match your columns to its required fields:
- customer ID → Customer ID
- date of transaction → Transaction Date
- amount spent → Amount
- email address → Customer Email Address
Double-check the automatic mappings and adjust if necessary.
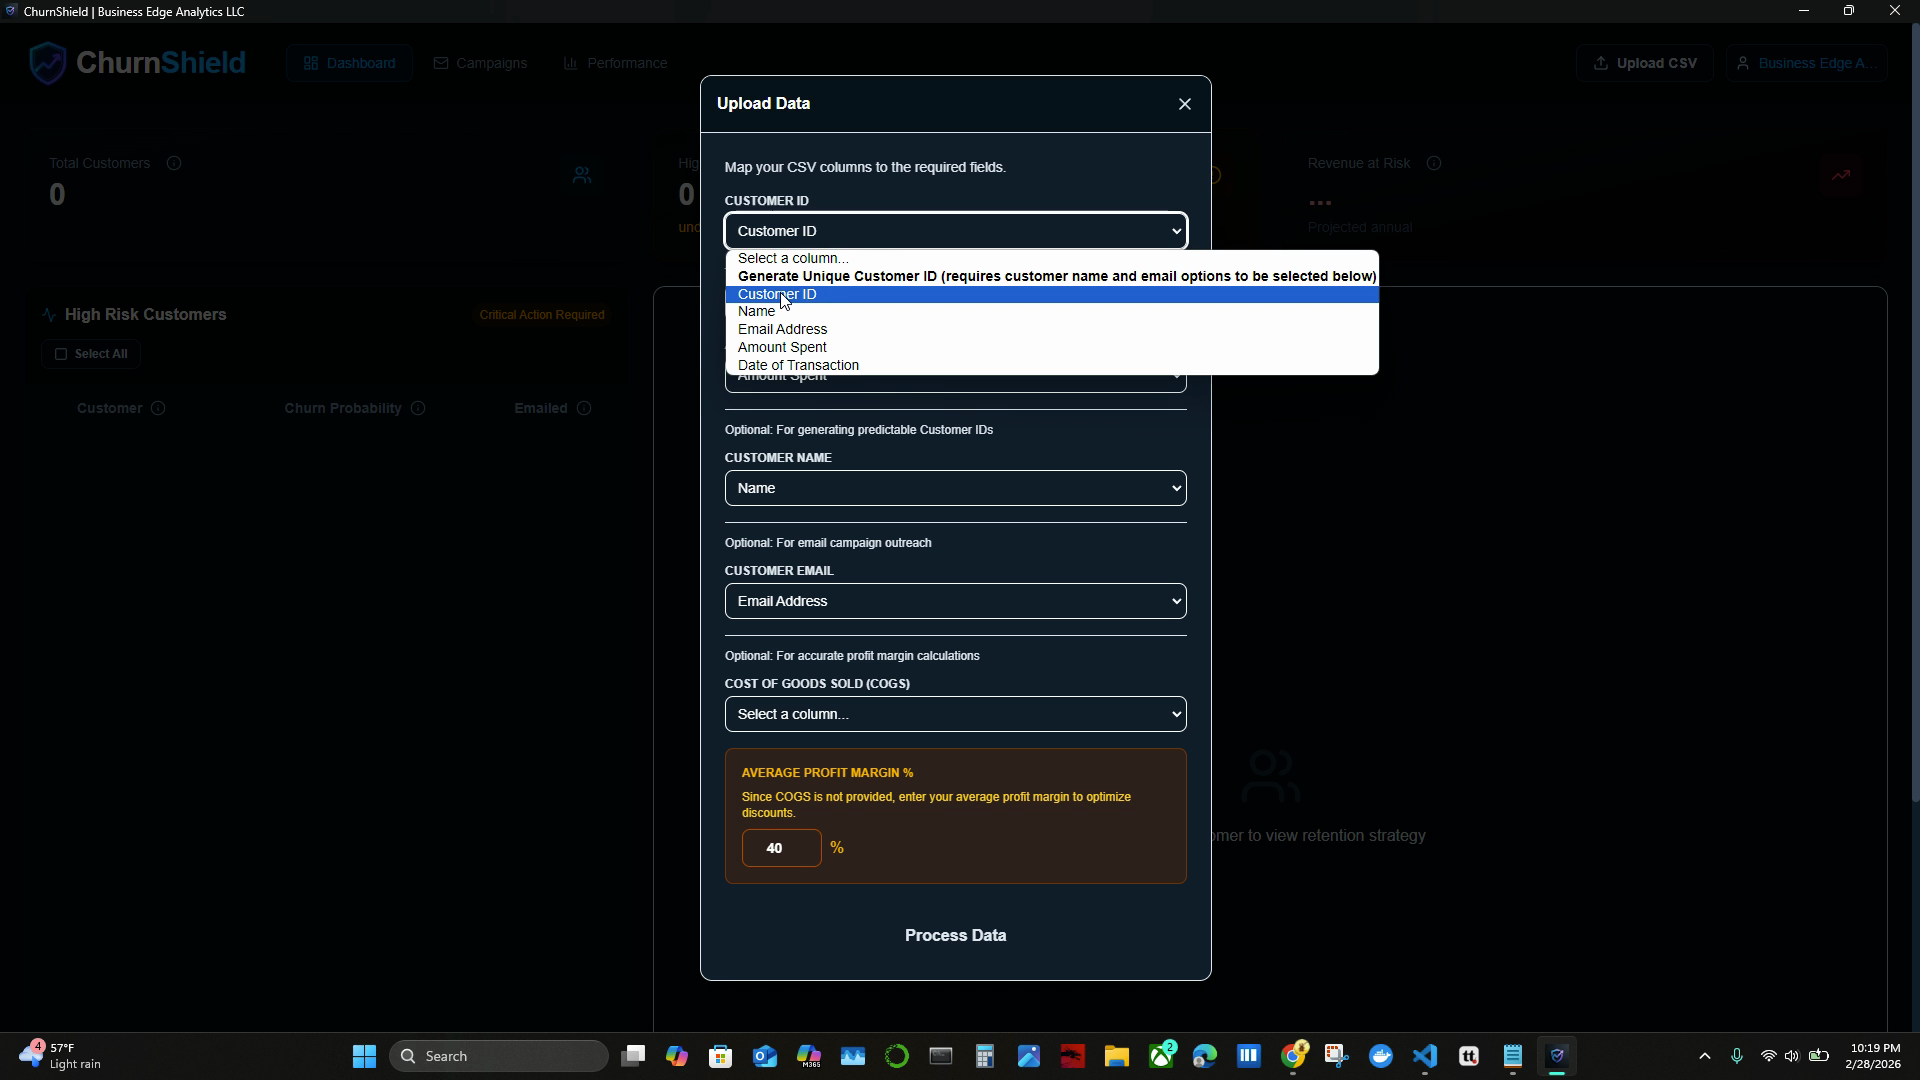
Step 4: Handle Cost of Goods Sold or Set Profit Margin
If your CSV includes a cost of goods sold column, select it in the mapping dropdown. If not, enter your average profit margin when prompted. This helps the system optimize discount amounts accurately.
Step 5: Review Customer Risk Analysis
Once data uploads, your dashboard displays:
- Total customers
- High risk churners (with the number and percentage of at-risk customers)
- Projected revenue at risk (if those customers leave)
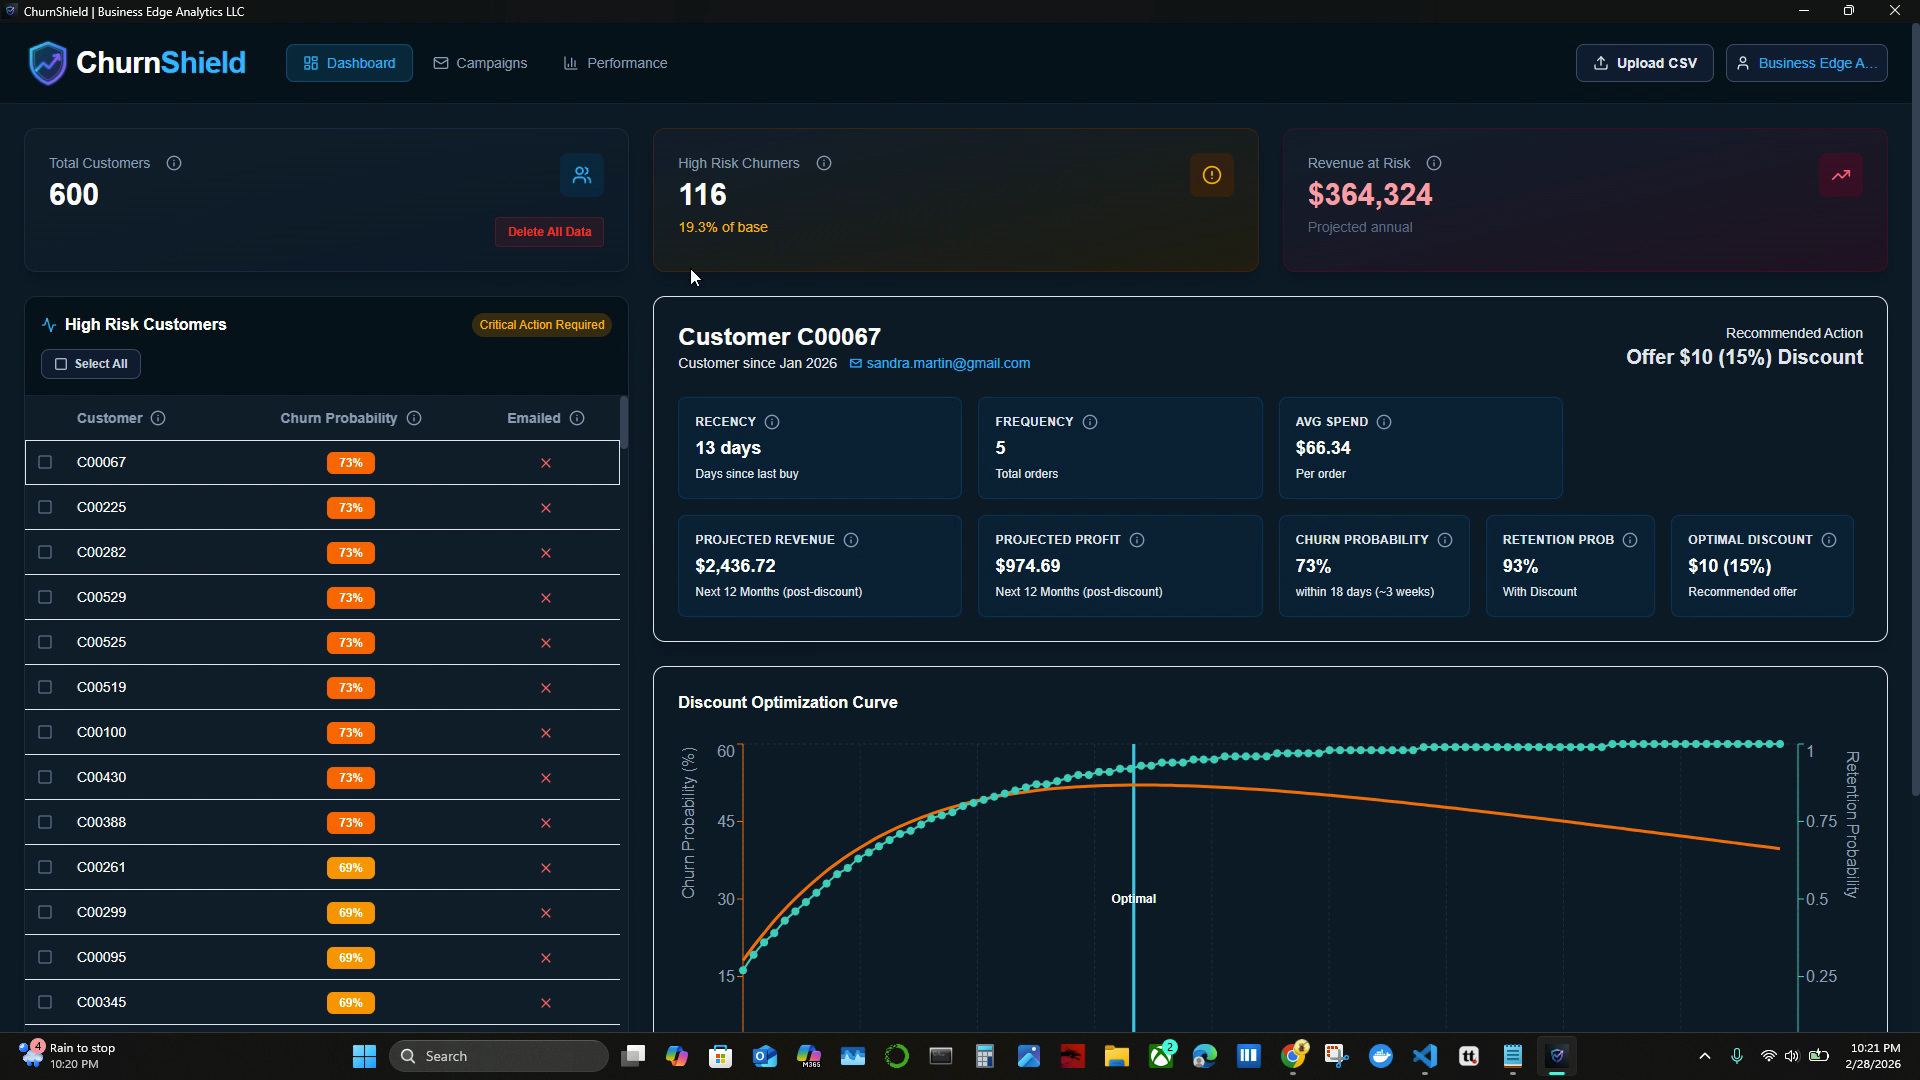
Step 6: Examine Your High Risk Customers
Scroll to the high risk customers table. Here you'll see:
- Customer ID
- Churn probability
- Emailed status (red X means not yet emailed)
Hover over info icons for explanations of each metric.

Step 7: Review and Optimize Discount Recommendations
Select a customer to view:
- Last purchase date
- Number of orders
- Average spend
- Projected revenue and profit with the recommended discount
- Churn probability
Churn Shield calculates an optimal discount that balances higher retention with minimized margin loss. Explore how increased discounts improve retention in the discount optimization curve.

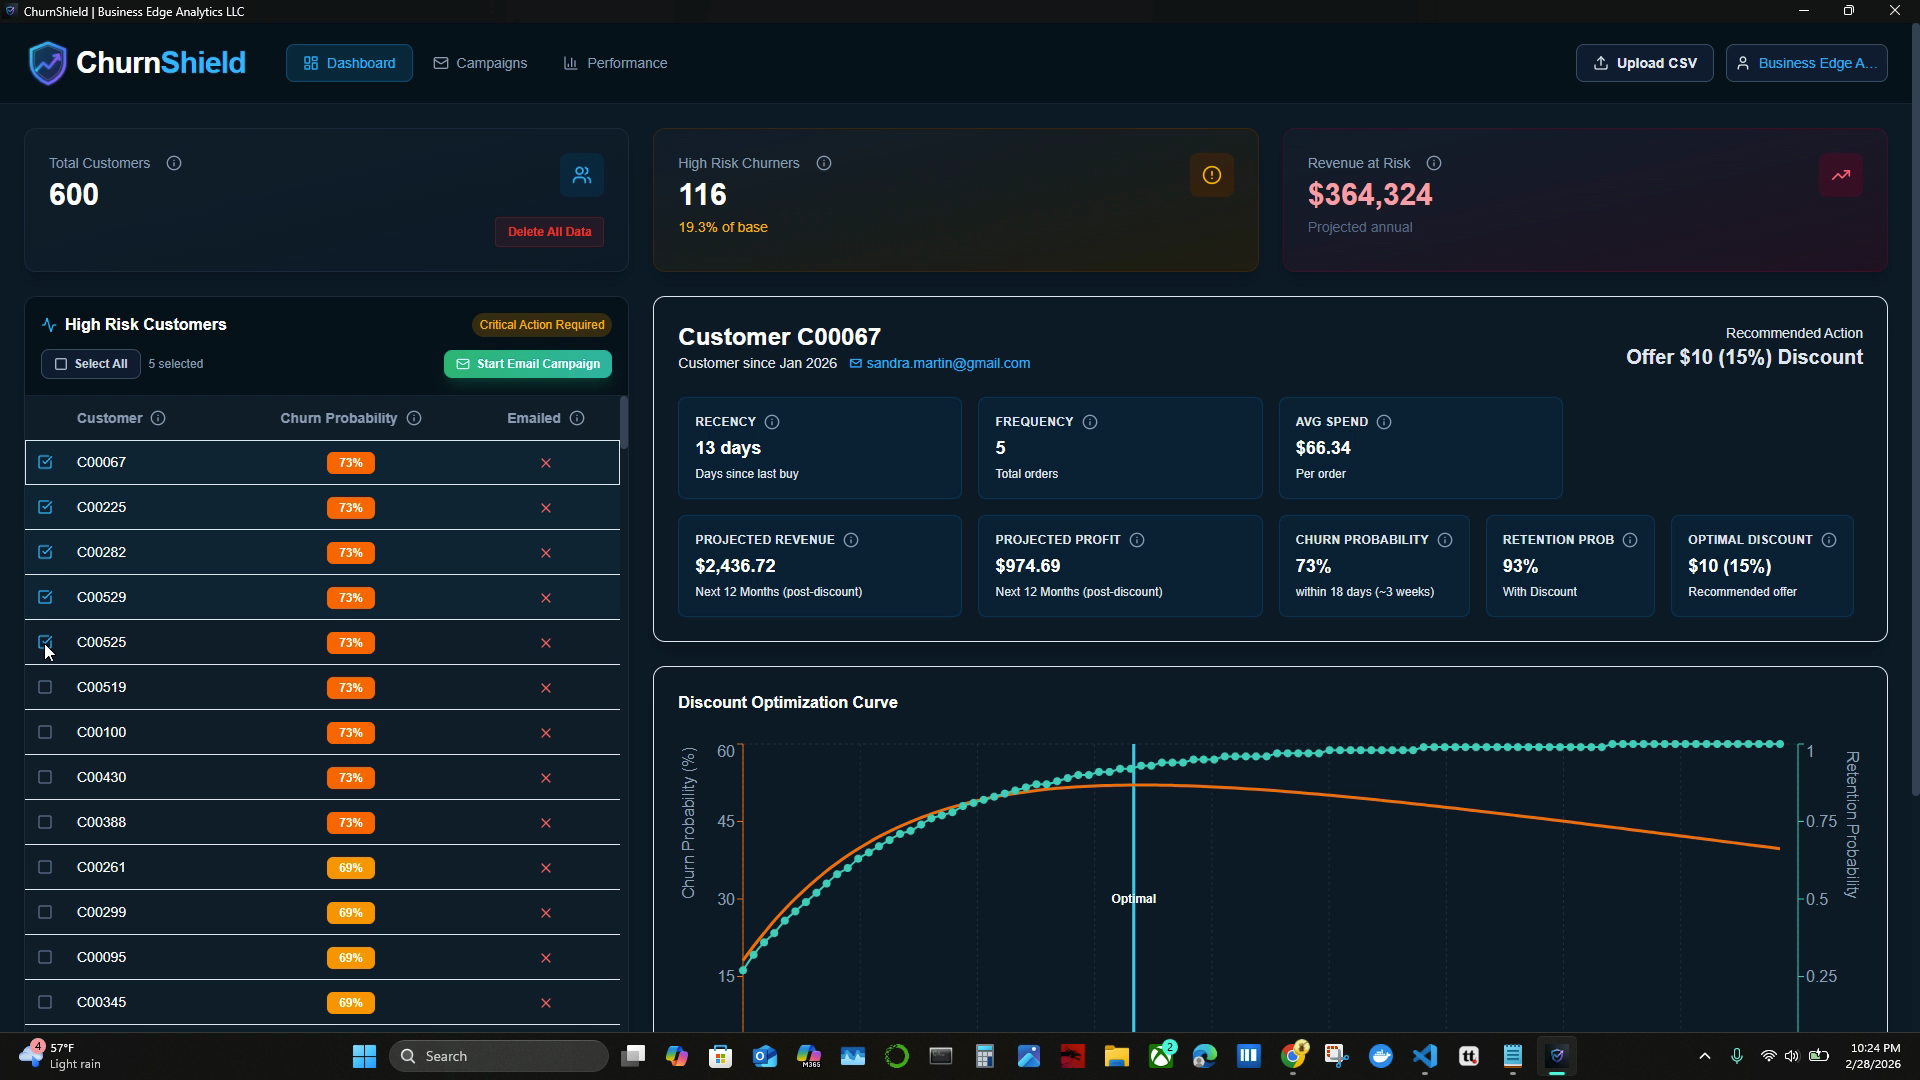
Step 8: Select Customers for an Email Campaign
Check one or more high-risk customers from the table. Click Start Email Campaign.
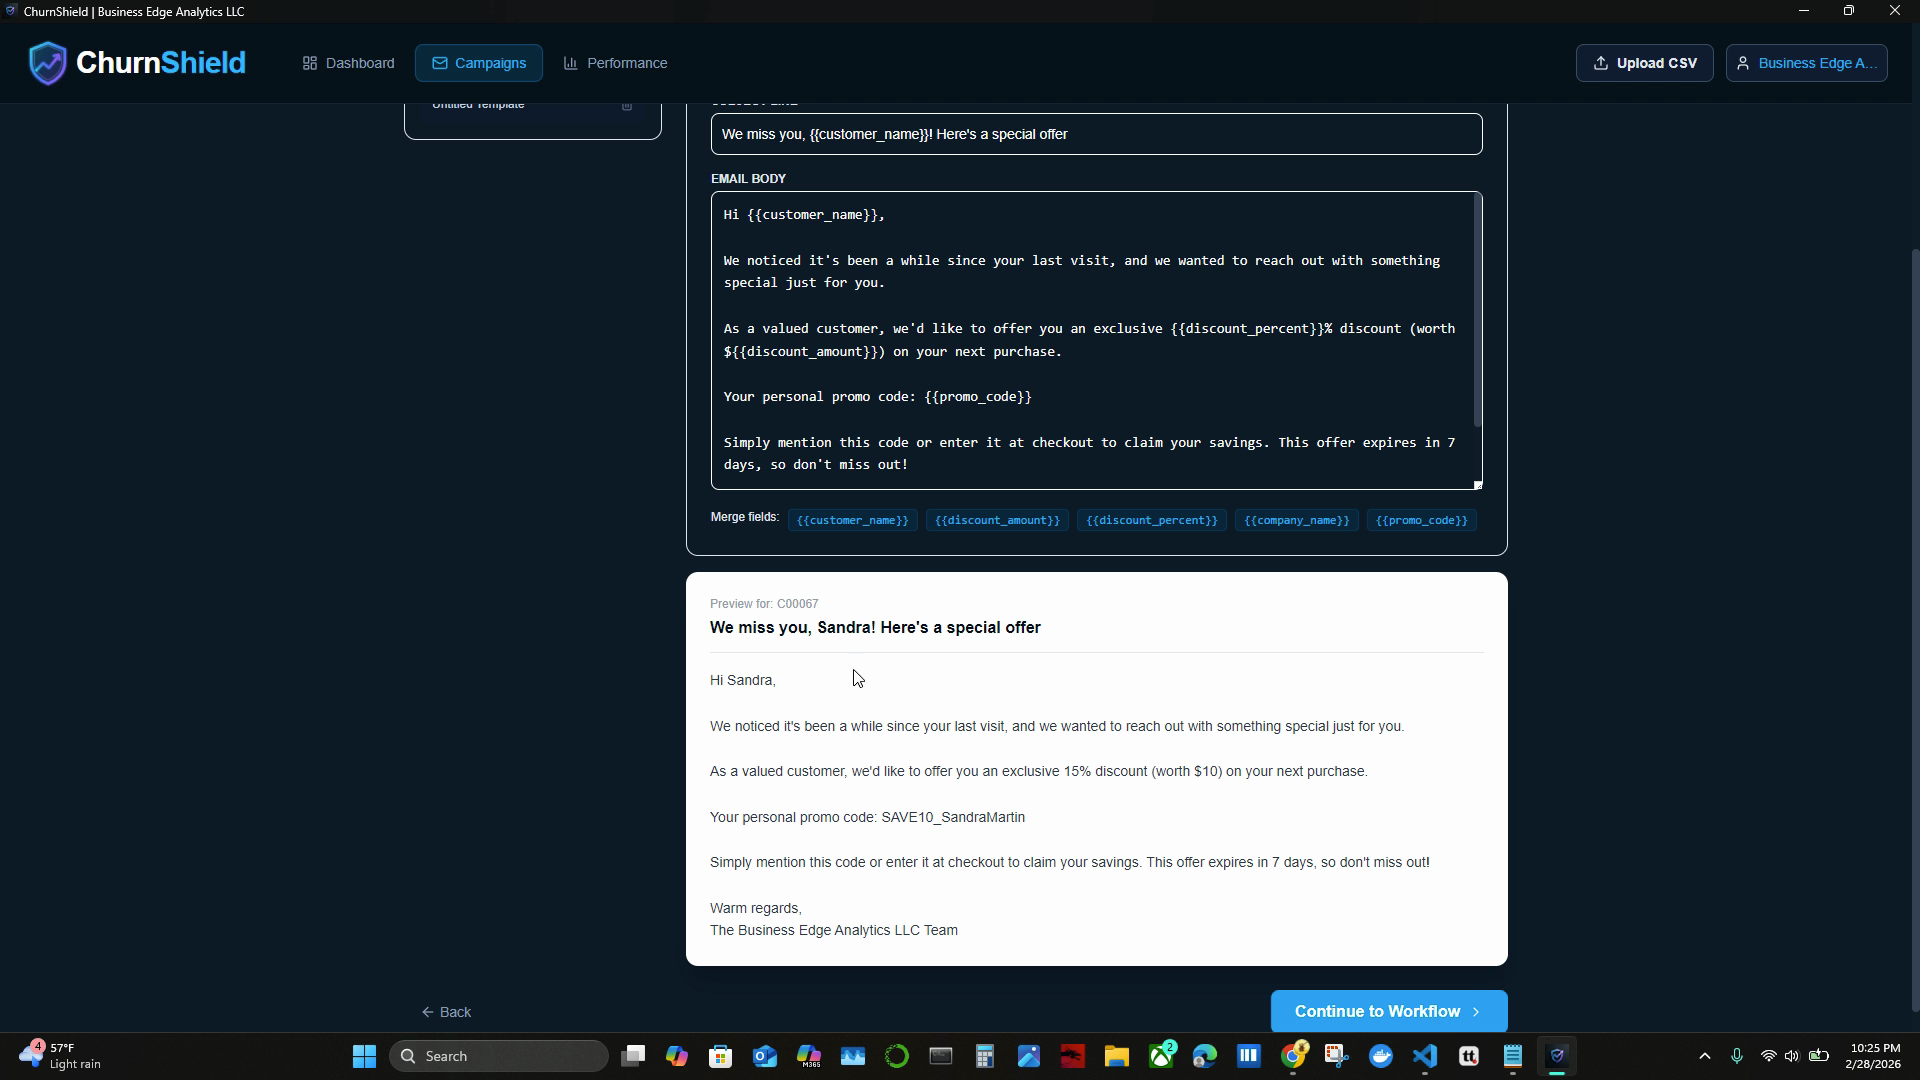
Step 9: Customize and Preview Email Templates
Churn Shield lets you build and personalize email templates, powered by generative AI. Use variables like customer name and promo code to personalize every message. Save your template, then preview it for any customer to see their unique offer.
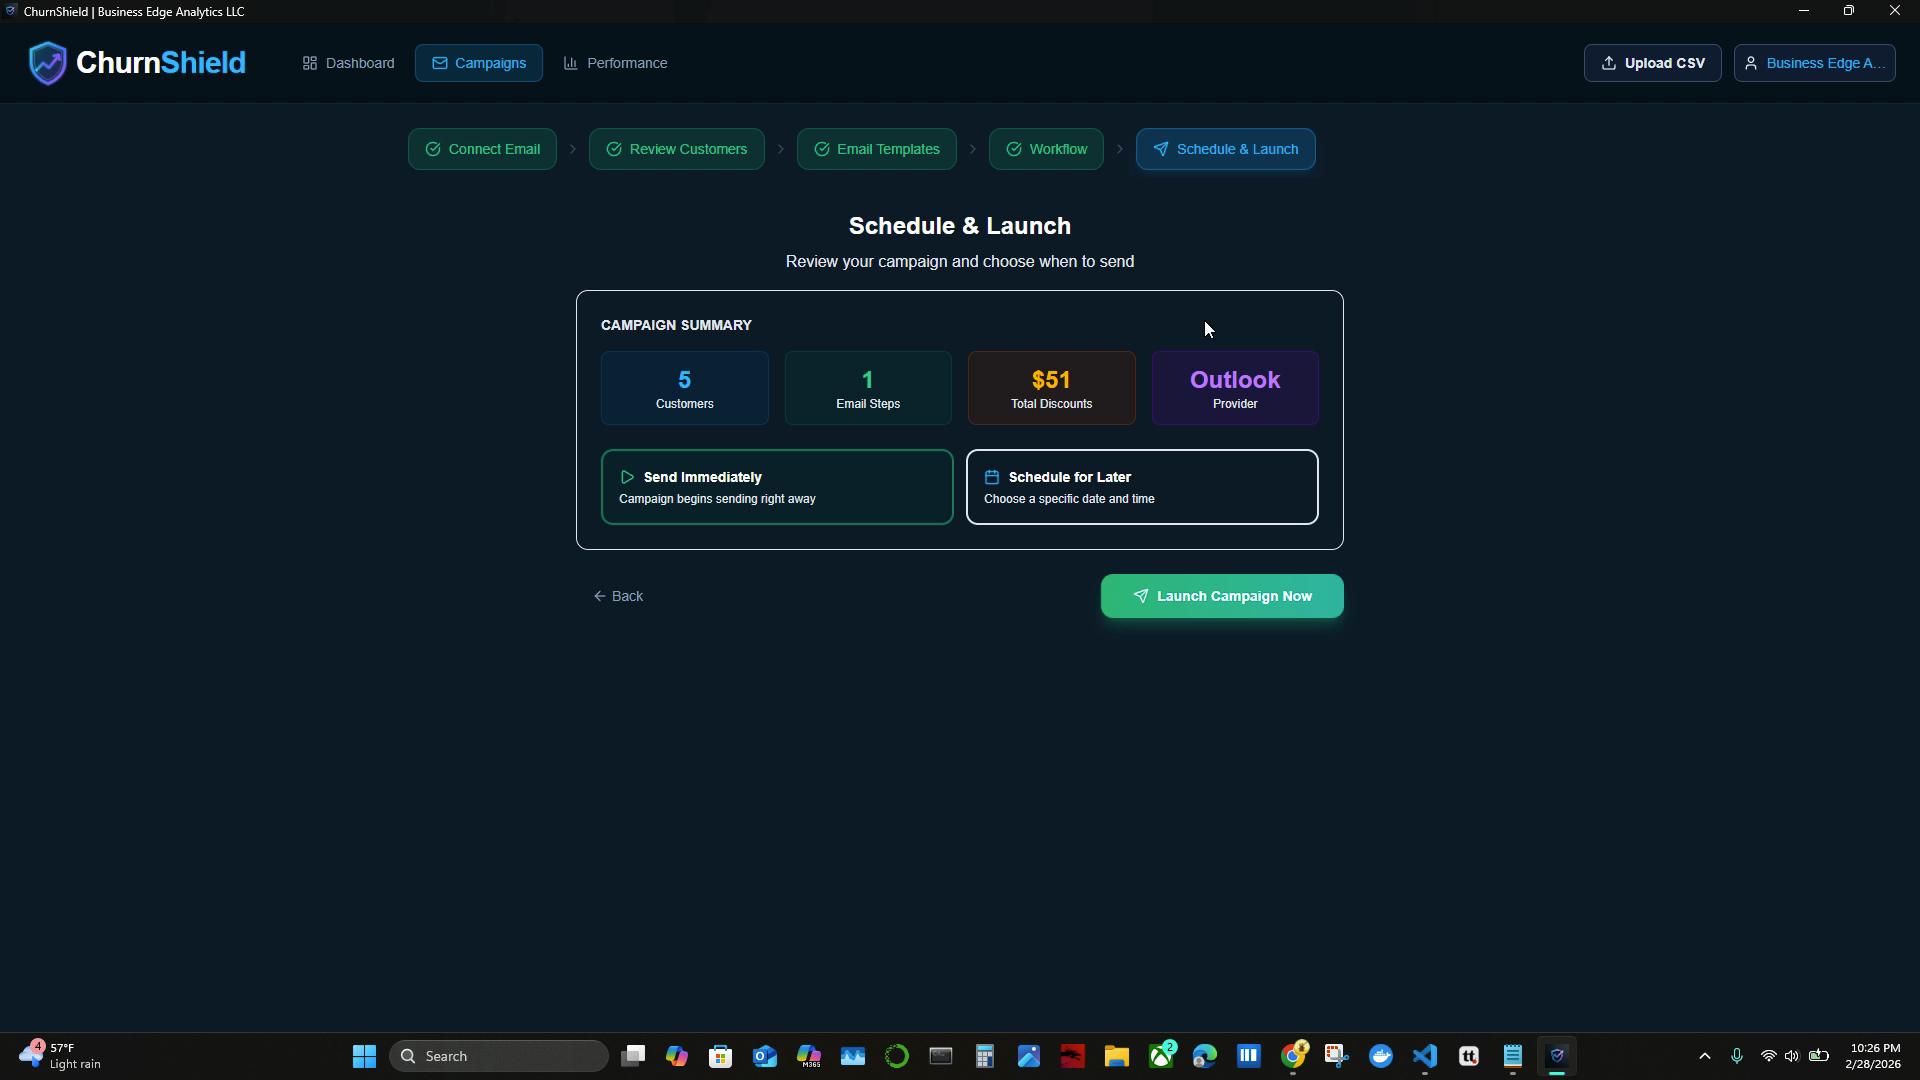
Step 10: Schedule and Send Your Campaign
Continue to the scheduling screen. Choose to send immediately or set a future date/time. Confirm your email provider (e.g., Outlook or Gmail) and launch the campaign.
Step 11: Track Campaign Performance and Revenue Impact
Head to the Performance Dashboard to monitor campaign metrics:
- Number of emails opened
- Number of customers who returned and spent
- Total uplift in customer spending
Churn Shield updates these charts over time as customer behavior data comes in. The Customer Return Tracker shows, for each emailed customer, their email, dates, spending before and after, and retention trends.

Churn Shield empowers you to protect your revenue by identifying at-risk customers, calculating effective discounts, and automating personalized outreach. Use the dashboards to see the direct impact of your campaigns, optimize future efforts, and strengthen your customer relationships.
Ready to Get Started?
Download ChurnShield and protect your revenue today. Free trial included, no credit card required.
⬇ Download ChurnShield